Alright! So now we have our circuit ready for testing!
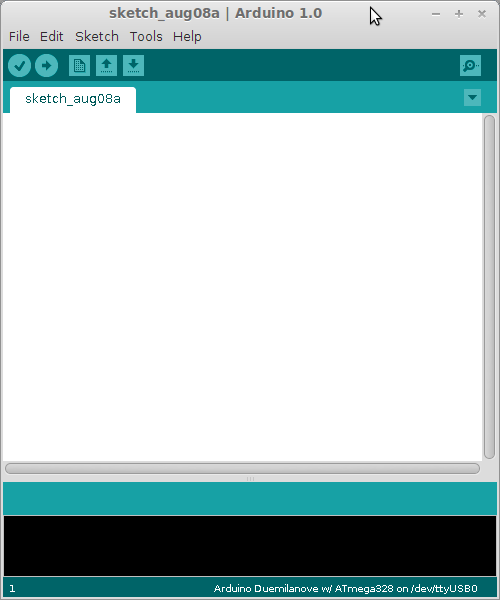
The first step is to check which port we’re using to “talk” with our Arduino. It shouldn’t be difficult, since we already uploaded a sketch to it. Just open the Arduino IDE and check on the bottom right corner which one it is. If you’re on Windows, it should be something like COM#. If you’re on Linux, it should be something like /dev/ttyUSB0. If you’re on MAC, it probably is similar to Linux.
Now, we have to install the program that actually communicates with our AVR. Remember: our Arduino only works as a relay from the chip to the computer. The most used program for this task is AVRDude. You can download it for Windows here. For Linux, you can probably install it from the repositories of your distro. For a quick install you should be able to “sudo apt-get install avrdude”, and install all dependencies.
Anyway, once that is taken care of, we can finally try our programmer. Start with this command:
avrdude -p m168 -P /dev/ttyUSB0 -c avrisp -b 19200
Quick explanation:
- -p: defines the chip you’re using. To find out which should you use, try “avrdude -p ?”.
- -P: defines the port you’re using to communicate with the Arduino. Seen above.
- -c: defines the type of programmer. For now, use avrisp.
- -b: defines the baud rate used to communicate. You should be able to use 19200 without problems, although some people report that 9600 is better for older chips.
If you run this command and everything is working as it should, you should now have something like this on your screen:
avrdude: AVR device initialized and ready to accept instructions
Reading | ################################################## | 100% 0.13s
avrdude: Device signature = 0x1E950F
avrdude: safemode: Fuses OK
avrdude done. Thank you.
If you get this (the device signature changes from chip model), congratulations: you have a working AVR programmer. Now you can go ahead and flash an .hex file, change fuses, write bootloaders, even make other Arduinos!
For future reference, here are some useful commands:
- Flash main.hex:
avrdude -p m168 -P /dev/ttyUSB0 -c avrisp -b 19200 -U flash:w:main.hex
- Read lower fuse into an hex file:
avrdude -p m168 -P /dev/ttyUSB0 -c avrisp -b 19200 -U lfuse:r:main.hex:h
This concludes this tutorial. Hopefully, this was helpful for you, as I spent quite some time searching the Internet finding some answer for the problems I faced while making this the first time. Although there is much information, most of it is quite dispersed, and hard to find.
Hope you liked it, and had some fun while you learned. Please, write your questions and comments bellow!


Pingback: Tutorial: Using an Arduino to program AVR’s II – Connections | Electro Sparrow
Pingback: Starting with AVR: Writing and Building on Windows | Electro Sparrow